

The WordPress community is blessed with many drag and drop page builders. These user-friendly WordPress plugins let you create professional looking pages in seconds even if you have no design or development experience.
In this article we pit two of the most popular WordPress drag and drop page builders against each other: Elementor Pro and Beaver Builder.
Both of these solutions use a front-end editor. This means that you can make changes directly on your website using a visual editor and see the changes in real-time.
Let’s delve deeper and look at what Elementor Pro and Beaver Builder offer WordPress website owners. This will help you see which of these premium drag and drop page builders is right for you.

Elementor Pro
Elementor was immediately popular when it was initially released in June 2016. The plugin managed to rack up over 10,000 activate installations in only three months and 15 months later the developers have managed to grow their user-base from 10,000 users to over 300,000 users.
One of the reasons the free version of Elementor grew so quickly is because the developers offered a user-friendly experience with features that were normally only found in premium drag and drop page builders. Their pro version, which is what we will be looking at today in this article, unlocks all features of Elementor.
A whopping 53 content widgets are available to help you shape pages the way you want. You will find widgets for adding images, videos, maps, sidebars, testimonials, and more.
24 of these content widgets are only available in the pro version. This includes desirable content widgets for WooCommerce, social media sharing, pricing tables, posts, portfolios, Facebook comments, and more.
You will be pleased to hear that you can use any WordPress widget with Elementor. This opens up limitless opportunities for integrating widgets from your favourite WordPress plugins.
Every aspect of Elementor is open source, mobile-friendly, and optimised for search engines. A large collection of pre-made templates are also provided. These can be used unaltered or used as a base to create your own design. All templates can be saved and applied to other pages. They can also be exported and imported.
Using Elementor Pro
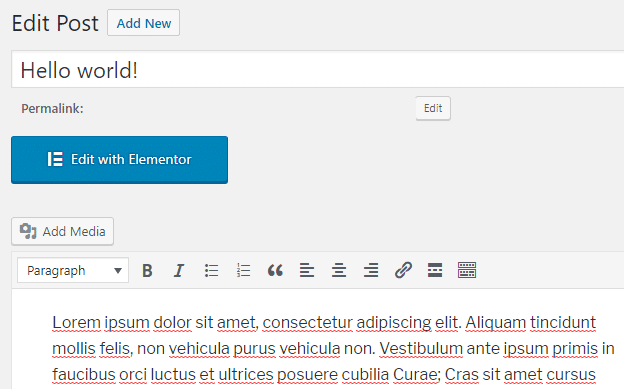
Once you have activated Elementor you will see a “Edit with Elementor” link in your post and page list pages. You can jump directly to the live editor by clicking on this link.
If you are already in the post or page edit area, simply click on the “Edit with Elementor” button.

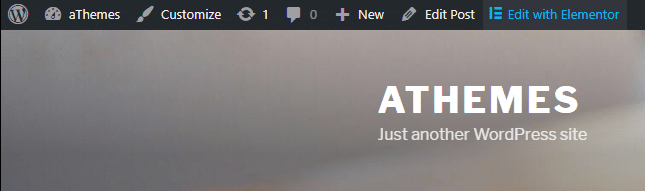
If you are logged into your website, you will also see an “Edit with Elementor” link in the WordPress admin bar.

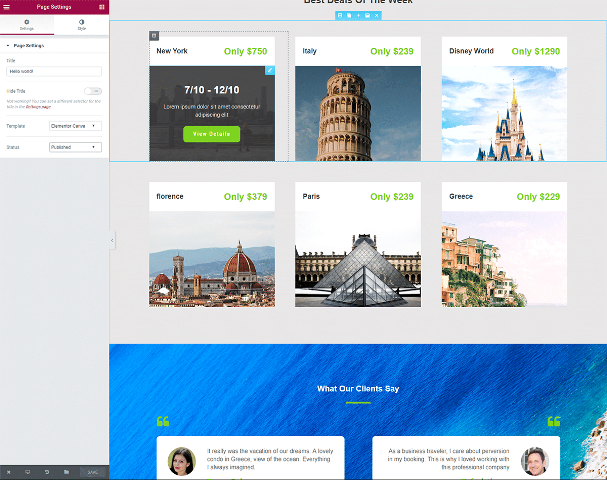
The Elementor interface displays all options down the left-hand side of the page. When you click on the main content area you can move sections and widgets around.
Elementor refers to content widgets as elements, though confusingly the search bar states “Search Widget” at the top of the panel. All elements are displayed in two columns.
At the top are essential elements such as columns, headings, images, videos and maps. The next section displays all pro elements and then there are sections for general elements and WordPress widgets. The large number of elements means that you need to navigate using a scrollbar.
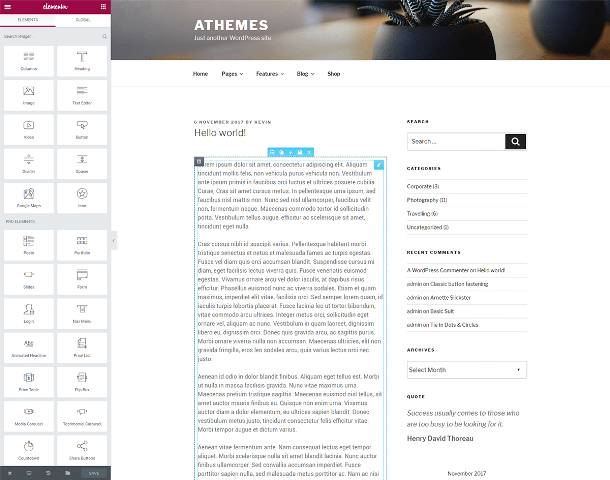

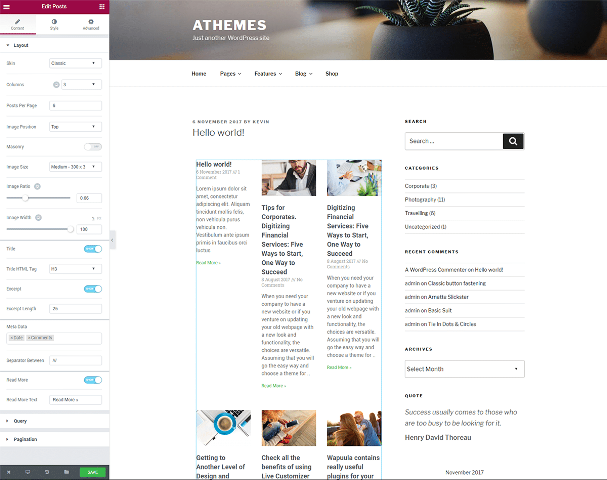
To add content to your page simply click on a content element and drag it to your page. When you click on a content element on your page the panel on the left-hand side will change to show settings for that element. The settings are divided into three sections: Content, Style, and Advanced.
You can change every aspect of a content element in this area and change the layout, styling, colours, and more. Since Elementor uses a visual editor, you can see any changes you make occur in real-time.

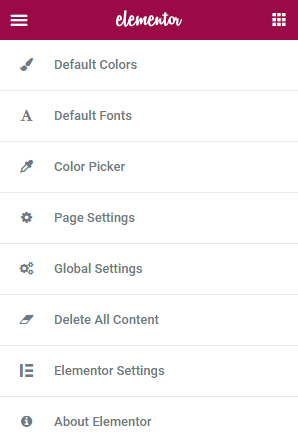
At the very top of the the panel is the Elementor logo and two buttons to the left and right.
The button on the left brings up a settings box where you can change colours, page settings, global settings, and more.
The button on the right acts as a reset button. Clicking on it will take you back to the main panel where all content elements are shown.

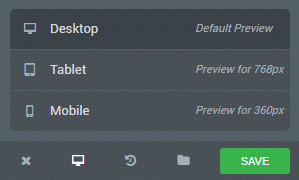
At the bottom of the panel you can change the view from desktop mode to tablet and mobile modes. You can also access your change history and revert back to previous versions of your layout. This is useful if you make a mistake or simply change your mind about something you added.
The templates button in this menu lets you save your current layout as a template and access the templates library.

Elementor’s interface is not as intuitive as Beaver Builder’s, but once you know how it works you will be able to create professional layouts in minutes.
Elementor’s Pre-designed Templates
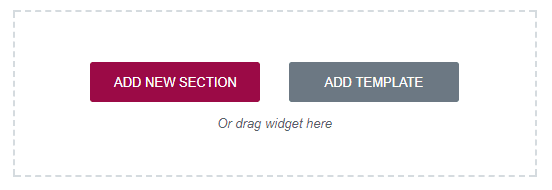
When you have a blank page you will see an option to add a new section or add template. This area continues to be displayed at the bottom of the page once you have added content.
Adding a new section lets you select one of twelve column structures. Clicking on the “Add Template” button loads the template library. As noted previously, this can also be launched via the menu at the bottom of the main options panel.

The template library shows all pre-designed templates and all templates you have created and saved yourself. There is an option to save your current layout at the top right-hand side too.
A total of 125 pre-designed templates are available. The vast majority of these layouts are only available to Elementor Pro users.
Each template can be previewed and then inserted into your content area. There is always a slight delay of a few seconds after clicking insert before it is added into your page.


You will find page templates for many different niches. There are templates for coffee shops, law firms, sports websites, festivals, real estate companies, coming soon pages, about pages, online shops, and more.
Annoyingly, Elementor does not give you an option to replace your current layout. It is always appended at the end of your existing layout.
Therefore, if you insert a layout and you don’t like it, you need to go to the settings area in the main panel and choose “Delete All Content”. If you forget to do this and then add your new layout, you need to either go back and manually delete all the sections of the previous layout you inserted or delete all content and insert the layout again.
It is important to remember that all drag and drop page builders are designed to help you modify the main content area. So if you have sidebars on your page, templates are going to look all squashed together.
Elementor has a useful option under page settings that lets you change from your theme’s regular template to a blank canvas. This clears the layout and lets you publish the layout in the way it was intended (i.e. with no sidebars).
Templates are a big selling point of Elementor. The pre-designed templates are a good starting point for your own layouts and by playing around with the designs you can get a better understanding of how to get the most from the plugin.
Elementor Pro Settings
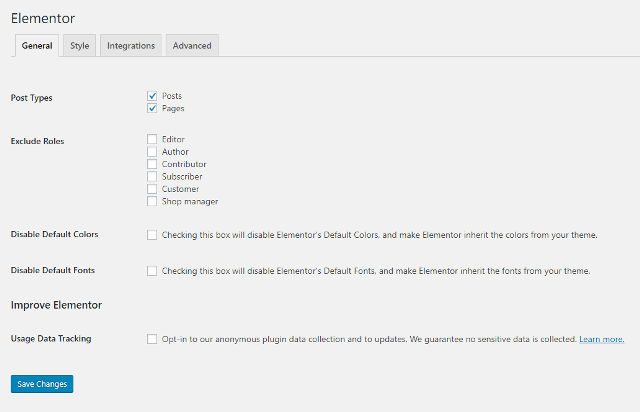
In the main settings area for Elementor you can select what post types it can be used with. You can also exclude certain user roles from accessing it.
In the style section you can set the default font, default content width, and space between widgets. You can also enter your reCAPTCHA key and Facebook SDK information in the integrations section and in the advanced section you can define your CSS print method and switch editor loader method.

Your template library is linked in the main settings WordPress menu. This lets you easily see what layouts you have created and saved. System information and license information can be viewed here too.
The tools area helps you perform many miscellaneous tasks such as regenerating CSS, replacing your website URL, and rolling back to a previous version of Elementor.
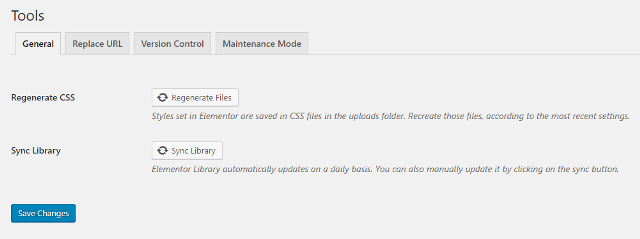

The way the settings area is laid out is a little strange. There is a settings area and tools area with four different sections in each. A single settings page that lists all options in a couple of tabs would make more sense.
If Elementor Can Be Downloaded Free, Why Upgrade?
The free version of Elementor is really impressive and contains a generous number of content widgets and templates as well as essential functionality such as exporting and importing. Therefore, you may be wondering why anyone would want to buy the pro version if the free version is good. It’s a reasonable question.
The answer is simple. The regular version of Elementor is good, the pro version is great.

The 24 content widgets (elements) that are included in Elementor Pro contain WooCommerce widgets that are essential to online stores, a post widget to help publish blog posts, a slides widget, pricing widgets, login widget, and many social media widgets. Most pre-designed templates are only available in Elementor Pro too.
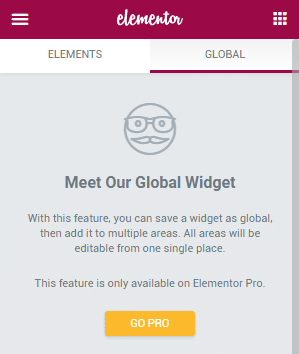
Other premium features include the ability to make a widget global and deploy it throughout your website, live CSS, and an option to integrate templates directly into your website’s sidebars as a widget.
I don’t think it would be fair to say the free version of Elementor is restrictive because it is not; however I do think that website owners who use the free version will be envious of the advanced features pro users gain.
Check out this list of differences between the free and pro version to see exactly what you receive if you upgrade.
Elementor Pro Pricing
Elementor have a simple and fair pricing policy for those that want to upgrade from the free version.
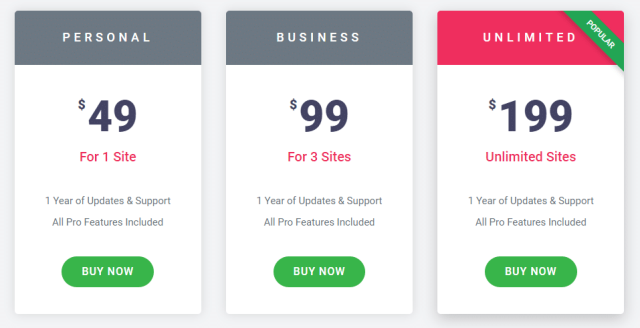
Three different plans are available: Personal, Business, and Unlimited. All plans offer the same version of Elementor Pro. The only difference is how many websites you receive updates and support for.
$49 per year is an enticing price to upgrade to the pro version of Elementor and it is only $99 if you want a three website license and $199 if you want an unlimited website license.

All WordPress users can install the free version of Elementor in order to familiarise themselves with what the plugin can and cannot do. Despite this, Elementor Pro still comes with a 30 day money back guarantee.
Those who choose to continue to using Elementor Pro when their license expires will receive a generous 50% discount. This drops the price of Elementor Pro in subsequent years down to $24.50 per year for the personal license, $49.50 per year for the business license, and $99.50 per year for the unlimited license.
Beaver Builder
Launched in April 2014, Beaver Builder has always offered an easy to use interface and a host of premium features that make creating professional content simple. The plugin has proved to be very popular with developers too, which is why Beaver Builder is held in such high regard and why they have over half a million customers.
Like Elementor, Beaver Builder lets you customise your website using a front-end visual editor. A free version of the plugin is available (more on this later), but it is the premium version that everyone is familiar with.
Beaver Builder uses a minimalist interface that fits well with the default WordPress colour scheme. In the past I have criticised Beaver Builder for looking outdated, but the release of Beaver Builder 2.0 Hoover changed that opinion. The interface now looks warm and modern.
Where Beaver Builder has always excelled is usability. From day one Beaver Builder has provided a user-friendly experience that other drag and drop page builders have tried to match. The interface is fast-loading and has next to no learning curve.
30 unique content widgets are provided, which they call modules, and you can also use third-party WordPress widgets. The content widgets are all categorised to help you find them quickly.
All layouts can be saved and applied to other pages and there are are dozens of pre-made landing pages and content pages available for selection.
A framework called Beaver Builder Theme is included in the higher priced licenses for Beaver Builder.
Using Beaver Builder
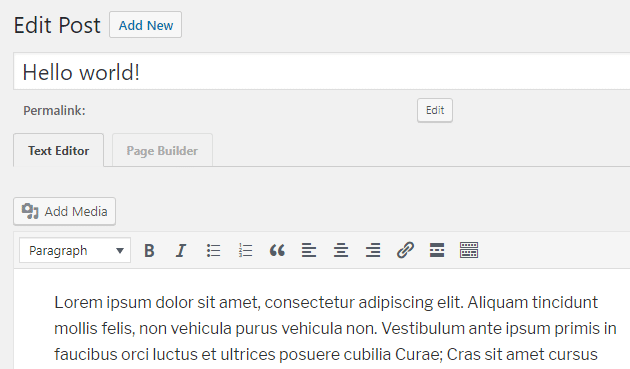
All editing in Beaver Builder takes place on the front-end of your website. You can launch the page builder by clicking on the “Page Builder” link in the post and page list pages or by clicking on the “Page Builder” tab in your editing page.

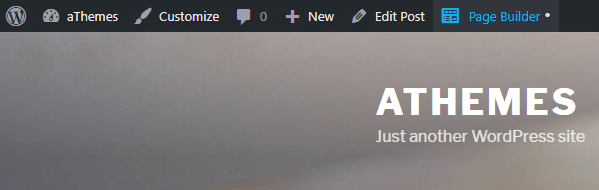
If you are browsing your website and you are logged in, you will see an option to edit your layout using Beaver Builder at the top of each page.

The Beaver Builder interface is very easy to navigate and everything loads fast. I have tested dozens of WordPress page builders and Beaver Builder is the one that always loads layouts and boxes and settings the quickest.
When you first enter the page builder you will see a simple toolbar at the top of the page.
At the left-hand side you will see a note of the post or page you are currently editing. On the right-hand side you will see a plus (+) symbol and a button entitled “Done”. Clicking on the “Done” button brings up buttons for discarding changing, saving the changes as a draft, publishing the page, or cancelling.
Clicking the plus symbol loads up the main page building panel.
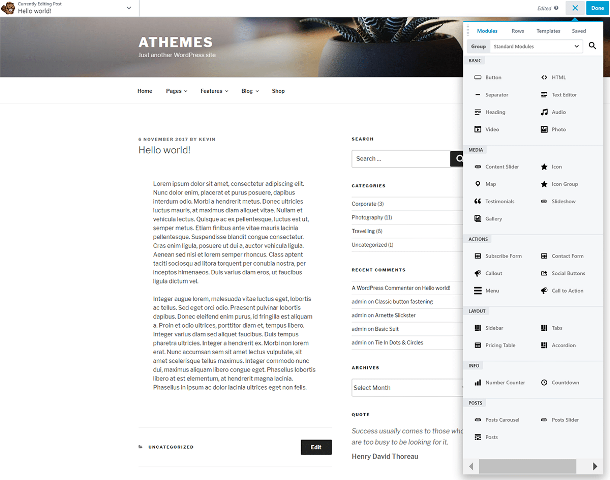
Standard content modules are shown by default, but you can switch to show WordPress widgets or saved modules (A reminder: modules, elements, and widgets, are all the same thing).
The content modules are divided into categories: Basic, Media, Actions, Layout, Info, and Posts. Everything is displayed at once so you don’t have to scroll up and down like you do in Elementor.

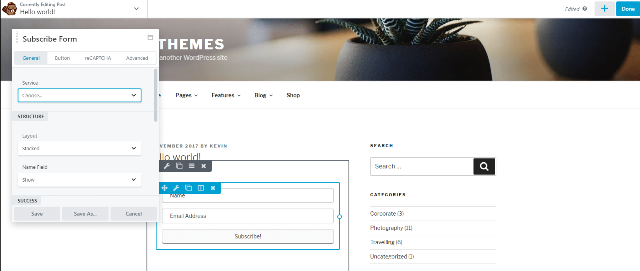
All the usual options are there. You can duplicate, edit, remove, and move around your columns, rows, and content modules.
When you edit a column, row, or content module, a box appears with many different customisation settings and styling options. In general, I would say that Elementor offers more customisation options here, but it is simple to add colours and change the overall layout and styling.

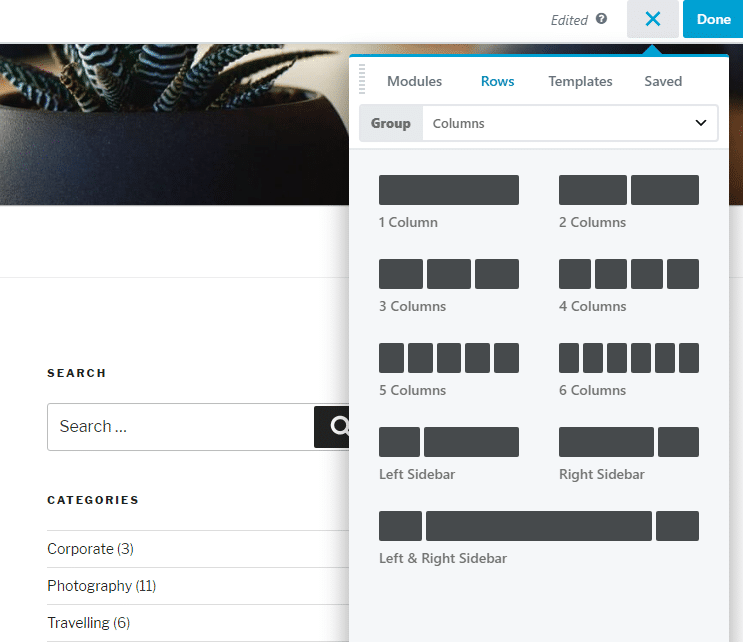
If we return to the main panel, we can see that there are four different tabs: Modules, Rows, Templates and Saved.
The rows tab has pre-made row structures with different column variations. You simply need to drag these to your content area and then add content to the columns.
At the end in the saved tab you can view saved rows and modules. Saved rows can also be accessed from the rows tab.

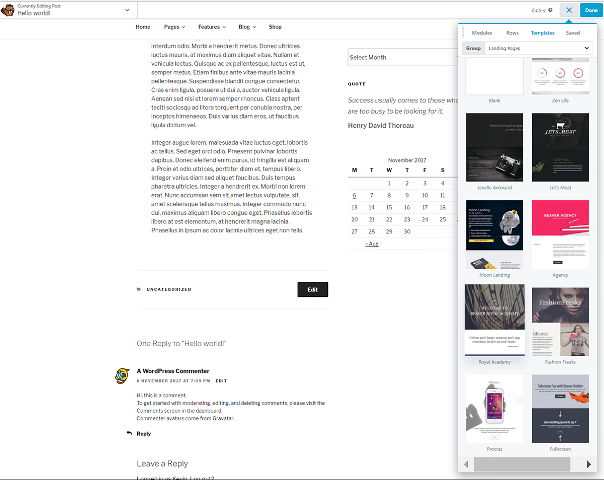
The templates tab is split into three different sections which can be accessed via the drop down menu. The sections are Landing Pages, Content Pages, and Saved Templates.
There is a blank canvas template, 30 landing page templates, and 30 content templates.
Although Beaver Builder offers less templates than Elementor Pro, they have a better mix of designs. Some of the templates offered in Elementor Pro are, well, obscure. The ones in Beaver Builder look like they will suit more website owners.
There is a variety of layouts for agencies, businesses, marketers, and online shops. You will also find page templates for about pages, services pages, portfolios, contact pages, and more.

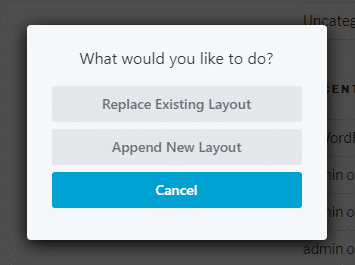
There is unfortunately no option to preview any template or a way to quickly remove your website design’s sidebars, but on a positive note, when you click on a template you are given the choice of replacing your existing layout with the template or appending it to your existing layout.
The template is also inserted into your page very quickly.

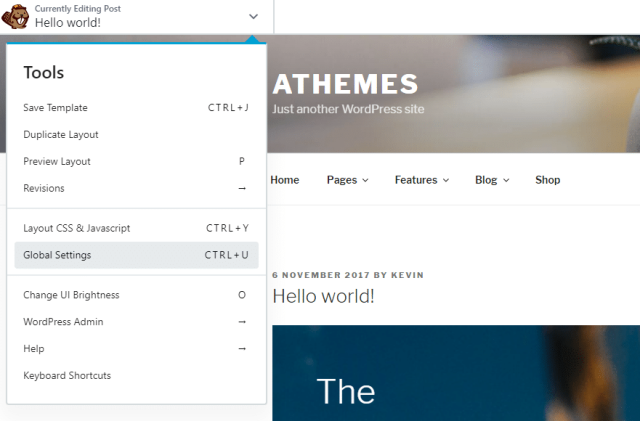
A host of options can be found via the tools menu at the left-hand side of the top navigation menu.
From here you can save, duplicate, and preview the current layout. You can also see a history of changes via the revisions link.
CSS, Javascript, and other global settings such as margins and paddings, can also be changed.

Beaver Builder lacks some of the more advanced customisation options found in Elementor Pro and other solutions such as Visual Composer, though it excels in other areas.
The interface loads quickly and has an intuitive layout that is simple to understand. This reduces the time it takes to create custom layouts.
The Beaver Builder Theme
The Beaver Builder Theme is included in the Pro and Agency licenses of Beaver Builder.
Built upon the Bootstrap framework and HTML5, the theme lets you customise your website in real-time using the WordPress theme customiser. It has native support for WooCommerce and provides you with several header and footer layouts.


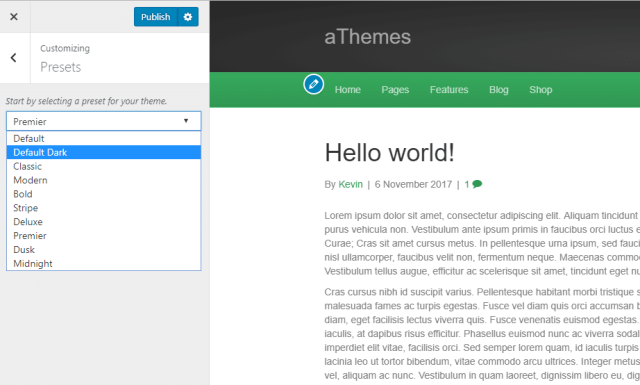
Every single aspect of the theme is controlled via the customiser. You won’t find any options anywhere else. I am a big fan of the WordPress customiser so I was pleased to see Beaver Theme use it instead of its own control panel.
Ten colour scheme presets are available. This will change the colours of the header and in some presets, the colour of the background too. Alternatively, you can change all of these colours yourself in other areas of the customizer.

You will find many customisation options in Beaver Theme and if you can spend time tweaking things you should be able to create a cool design; however the reality is that Beaver Theme is a very simple WordPress theme. Beginners will find it hard to change the theme structure beyond the basic layout and developers will turn their attention to more versatile designs.
Beaver Theme is not included in the standard license. The developers ask for another $100 to get Beaver Theme and WordPress multisite support.
To put that into perspective, for $89 you can get an ElegantThemes membership and gain access to Divi, 86 other WordPress themes, and three premium plugins.
If Beaver Theme was included in the standard license, it would be a nice bonus. As it stands, the theme offers few reasons to upgrade.
Page Builder Settings
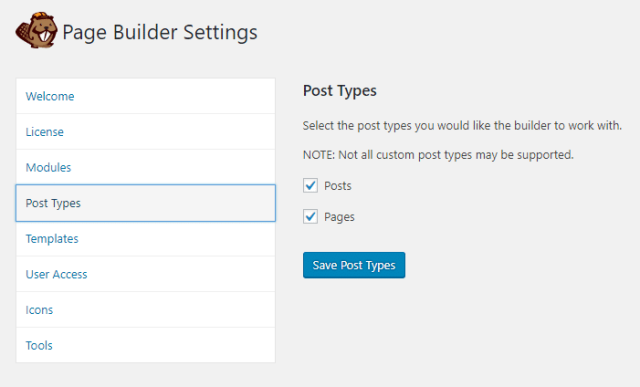
Beaver Builder has a small settings area for the page builder that is located in the main WordPress settings menu.
From here you can enter your license information and select whether any content modules and post types are to be disabled. Core templates and user templates can also be activated and deactivated.

The user access area lets you specify what usergroups can and cannot get access to unrestricted editing, global rows and modules editing, the builder admin area, and template data exporter.
The icons section lets you disable Font Awesome icons, Foundation Icons, and WordPress dashicons.
Finally, the tools section lets you clear cache and enable a debug mode. There is also an uninstall option that completely removes Beaver Builder from your website database. This is a feature that I wish all developers added to their WordPress products.
Beaver Builder Can Be Downloaded Free Too
A free version of Beaver Builder is available for download on WordPress.org ot directly from your WordPress admin area.
Beaver Builder Lite is currently active on over 400,000 WordPress websites, but in my opinion it is too restrictive and a poor advertisement for the main product.

The lite version does not have a templating system and only has six content widgets: Audio, HTML, photo, text editor, video, and sidebar. Default WordPress widgets and third-party WordPress widgets can be used too.
When WordPress products are released on a freemium basis, my advice is normally to test the free version first to see if you like it. Beaver Builder Lite is the exception. It is a very simple plugin and does not do enough to show users how great the premium version is.
Beaver Builder Pricing
Whereas Elementor Pro’s plans are priced according to how many websites you install the plugin on, Beaver Builder’s plans restrict features.
All Beaver Builder plans provide support for one year and can be installed on an unlimited number of websites.
The standard license retails at $99. Upgrading to the pro license at $199 adds the Beaver Builder theme and WordPress multisite capability. The agency license at $399 was created for companies who want to re-brand Beaver Builder using white labelling.
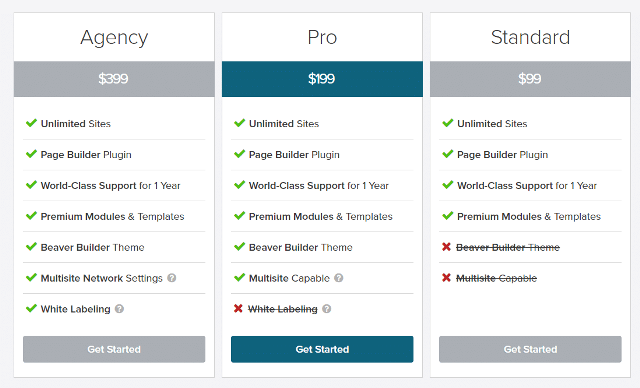

Beaver Builder offer a 30 days money back guarantee. At your renewal date your license will automatically renew at a 40% discount (unless you disable automatic renewal in your account).
The renewal discount drops the yearly price of Beaver Builder down to $59.40 for the standard license, $119.40 for the pro license, and $239.40 for the agency license.
Elementor Pro vs Beaver Builder: Summary
Elementor Pro and Beaver Builder are two of the best WordPress drag and drop page builders on the market.
Let’s review the strengths and weaknesses of each plugin.
Elementor Pro Pros
- Great variety of content widgets and templates
- Colourful user-interface
- Free version has many great features and it is only $49 to upgrade to the full version
Elementor Pro Cons
- Interface is not as fast as alternative solutions
- Content widget panel requires you to scroll up and down to find the content you want
- Interface could be more intuitive
Beaver Builder Pros
- Interface loads quickly and is easy to use
- Templating system works really well
- Good variety of content widgets and all are accessible without scrolling
Beaver Builder Cons
- Expensive when you consider the cost of alternatives
- Needs more module customisation and styling options
- Beaver Theme and Multisite Support are not included in the standard license
To find out more about these plugins, please check out our dedicated reviews of Elementor Pro and Beaver Builder and our comparison of Beaver Builder and Visual Composer.
Which drag and drop page builder do you prefer? Let us know in the comment area below