


From this tutorial, you will learn how to create a form that afterward can be inserted into the page built via Gutenberg Editor. You will need just the JetFormBuilder plugin for it.

It is quite complicated to build a form in Gutenberg Editor. It has neither a block nor functionality that can help you create even a simple form. JetFormBuilder deals with that problem. It allows you to create and store forms that can be inserted into any page. Let’s go through the first stage – form creation.
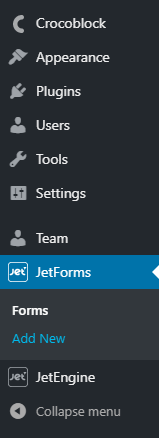
1 Step— Add a new form
Log into your website’s WordPress dashboard and go to JetForms > Add New.

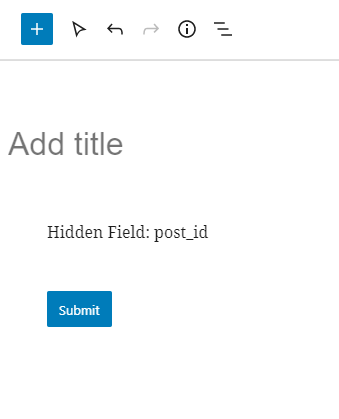
The opened page looks like a usual Gutenberg post or page editing window. There is a text area to enter that form’s title and two fields: the Hidden field with post ID and the “Submit” button field.

2 Step— Add the fields
Click the “Add block” button with a plus-shaped icon in the left upper corner of the window and scroll the list of blocks to the Jet Form Fields section.

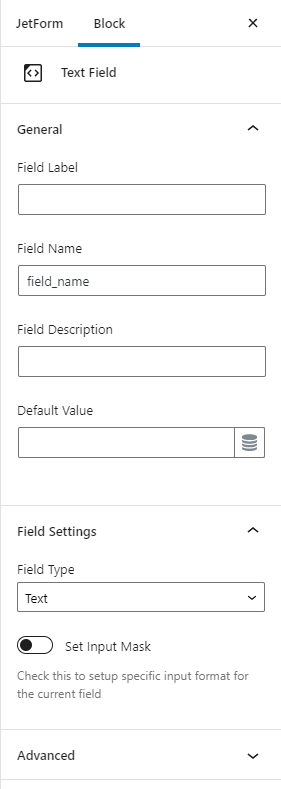
Click on the field you need and it will appear on the page. You can also add any of the blocks that are available to you. For example, if you want to build a more complicated layout, use the default Columns block and place the fields into them. All the settings of the field are located on the right-side menu. There, you will be able to set the labels for the fields and customize them. You will find more information about each of the fields in our Form Fields Overview.
3 Step— Deal with the Form Settings
Besides the individual settings of every block, there are also general settings of the whole form. In the right-side menu, open the JetForm tab and unfold the Form Settings section.


- Fields Layout. Here you can choose the position of the label. If you select the Column option, the label will be placed over the field and if you choose the Row option – it will be positioned in the same row with the field;
- Required Mark. You can choose the symbol that will be placed near the label if the field is matched as “required”;
- Submit Type. In this drop-down menu, you can choose how the page will react to the form submission. Page Reload means that the page will be reloaded when the user hits the “Submit” button, while the AJAX option doesn’t reload the page.
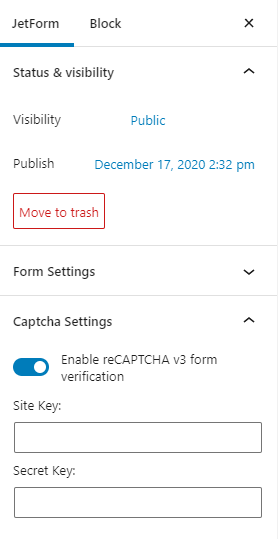
4 Step— Add Captcha Settings
If you want to add a captcha to your form, unfold the Captcha Settings section and enable the Enable reCAPTCHA v3 form verification toggle. You will be asked to enter the Site Key and Secret Key.

To get those keys, you have to follow the link. Enter the name of your site in the Label field, choose the “reCAPTCHA v3” option in the reCAPTCHA type field, and type your site’s domain into the Domains text area.

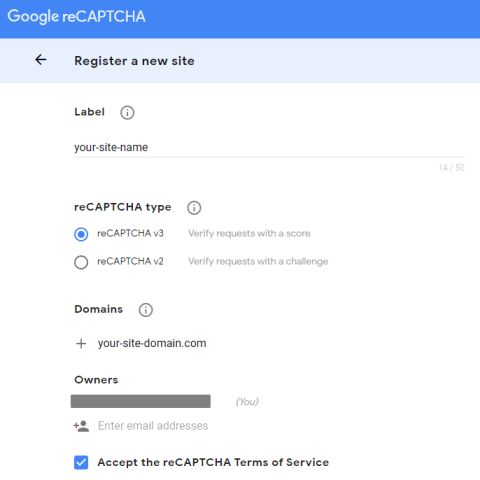
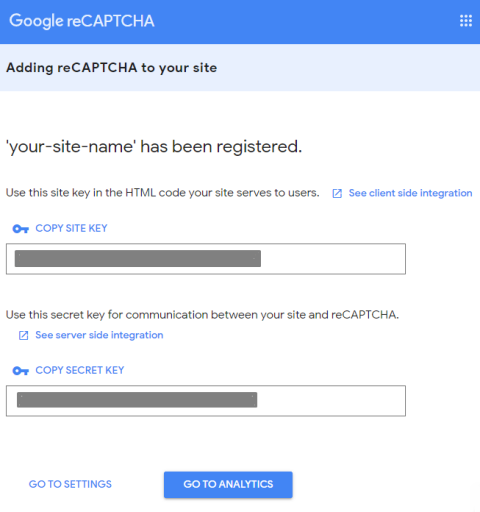
Afterward, hit the “Submit” button below. You will be forwarded to the window with keys. Copy them and paste them to the corresponding fields of the Captcha Settings section.

5 Step— Set Post Submit Actions
Those actions are performed after the user fills the form and hits the “Submit” button. For example, if you want to send the user an email with the data he/she put into the form, you can use the “Send Email” Post Submit Action. With the help of the “Register User” Action, you can create a sign-in form. More details about Post Submit Actions you will find in this tutorial.
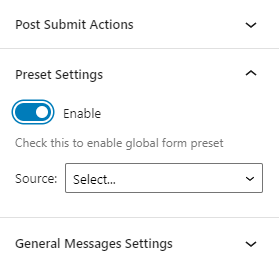
6 Step— Go through the Preset Settings
Preset is a set of data that can be automatically placed to fields of form without the user filling them manually. For example, it can be used when the user has already left some information about himself/herself somewhere on the website. You can create a preset that will take the user’s name, email, and phone number from the registration form and auto-fill the corresponding fields of the checkout form.
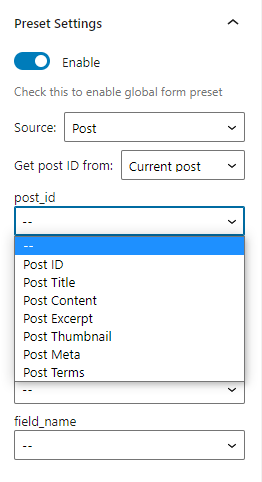
If you want to add a preset, unfold the Preset Settings section and turn on the Enable toggle. In the Source drop-down list, choose where the data for the preset will be taken from – the “Post” or “User” content.

Now you have to choose where you would like to Get post ID from. There are two options:
- Current post. If you choose this option, all the data will be taken from the page where the given form is located;
- URL Query Variable. This option allows you to set a variable and use the data from the page, defined in the URL.
Afterward, there will be a list of fields that correspond to the fields you added to the form. Choose what data you would like to add there as a preset.

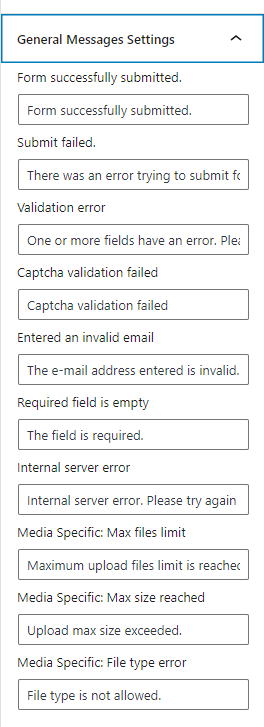
7 Step— Set the General Messages Settings
The last section allows you to set the messages that the user will see in different situations. You can type in any notification message that fits your website. However, make sure it will be understandable to the user.

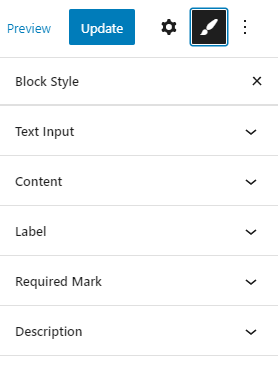
8 Step— Do the styling
When you are done with the settings, it is time to make the form more eye-catching. Be aware that you will need the JetStyleManager plugin in order to get access to the styling functionalities. Click on any of the fields and you will see the button with a brush-shaped icon. Hit it and start customizing the field’s view. Every field is customized separately, so afterward repeat the customization on all the fields. You should also know that the Submit and Form Break fields can be customized only after you place the form on the page. More about that you can find in this tutorial.

Congratulations, you learned how to create a form using the JetFormBuilder widget and Gutenberg Editor functionalities.
Source: https://crocoblock.com/knowledge-base/articles/jetformbuilder-how-to-create-a-form/